

Quick Start
Get started with Fenestra in minutes — create your first project, generate an architectural render, and learn the core Studio tools in a few simple steps.
Get from zero to your first generation in a few minutes.
Step 1 - Create a project
From Home, click New Project. Give it a name and you'll be taken straight into the Fenestra Studio.
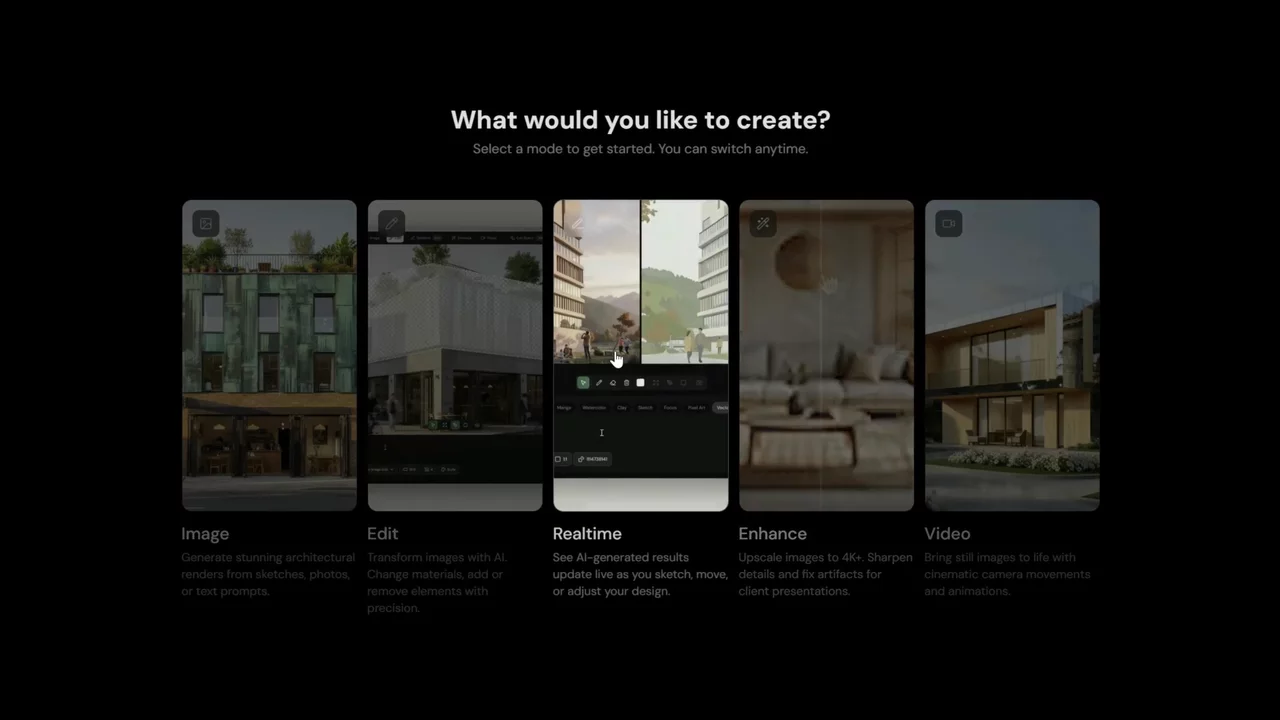
Step 2 - Choose a mode
When you open a new project you'll be asked what you'd like to create. Choose from Image, Edit, Realtime, Enhance or Video.

- Image - generate visuals from a prompt, sketch or reference photo
- Edit - transform, refine or extend an existing image or 3D model
- Realtime - draw on a canvas and watch AI render live as you sketch
- Enhance - upscale and sharpen an existing image for client presentation
- Video - animate a still image with cinematic camera movements
For this walkthrough we're starting with Edit. Edit is great for refining existing renderings, turning sketches into renders, or working directly with a 3D model.
Step 3 - Upload your first image or model
Once you've selected Edit, click Upload Image / 3D to add your file or click Browse Assets to pick from your previous uploads or Fenestra's built-in library.

Step 4 - Write a prompt and generate
Describe what you want Fenestra to create in the prompt bar at the bottom. Be specific about materials, style, lighting and location - the more context you give, the better the result.
For this example we used:
"Turn this loose sketch into a photorealistic timber and glass skyscraper in New York City, early morning, long shadows."
Click Edit to generate.

.png)
.png)
.png)
.png)