Edit — Working with 3D Models
Generate photorealistic renders from a 3D model using camera views you set up directly in the browser.
Start a new session
Click the + button in the left sidebar to create a new session.
Load your model
Click Upload Image / 3D to upload a new model or Browse Assets if you've already uploaded one. Fenestra supports GLB, FBX and 3DM files up to 150 MB.
Your model renders entirely in the browser, meaning it works on any device without specialist hardware.

Navigate your model
Use standard controls to move around your model:
- Click and drag → rotate
- Right click and drag → pan
- Scroll or trackpad → zoom
Adjust your 3D controls
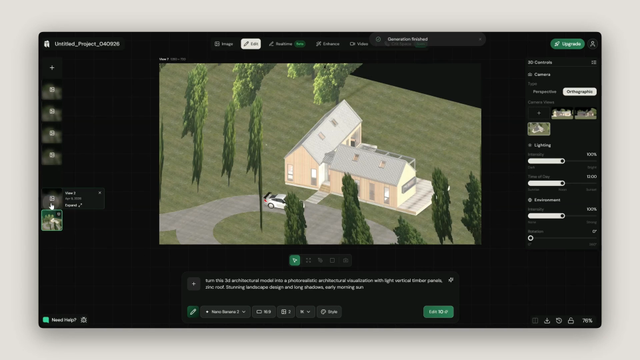
On the right side of the workspace you'll find your 3D controls. Use these to adjust FOV, lighting, environment and more to set up your scene before generating.

Save camera views
Position your model at the angle you want to render from and save it as a camera view. These saved views become the inputs for your AI generations. Work through your key angles - approach, entrance, aerial, rear elevation - before generating.

Set your parameters
- Model → Nano Banana 2
- Image count → 2
- Aspect ratio → 16:9
- Resolution → your preference
Write your prompt
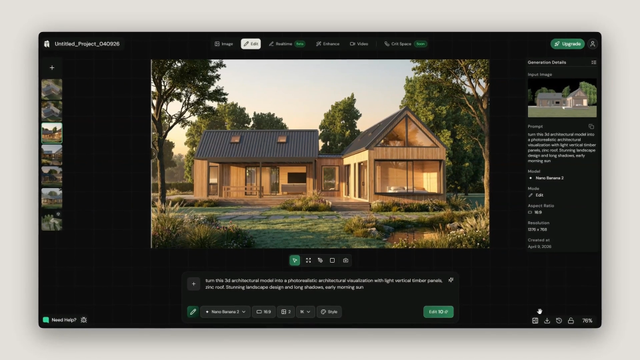
Be specific about materials, environment and lighting but keep the prompt simple. Reference the 3D model directly so Fenestra knows what it's working from. For this example we used:
"Turn this 3D architectural model into a photorealistic architectural visualisation with light vertical timber panels, zinc roof. Stunning landscape design and long shadows, early morning sun."
You'll get the best results when your 3D model has textures - these give the AI more information about what to render.

Generate and compare
Click Edit to generate. Once your results appear click any image to open it and hit Compare to see your model view alongside the rendered output.