How to Make an Architectural Walkthrough From a Single Render

Shaun McCallum
September 15, 2026A walkthrough used to mean a modelled scene, a keyframed camera and a fortnight of render time. It now means choosing a camera move and waiting a few minutes.
You can make an architectural walkthrough from a single still image: a render, a photograph, or a sketch. Upload it, pick a camera move, and you get an MP4 back in a few minutes. No 3D scene, no camera path to keyframe, no render farm.
That is the short version, and it is the part worth knowing if you have only read this far. The rest of this post covers which camera move to pick, how to keep the building from warping, and how to chain several clips into something longer than six seconds.
Here is one, before any of the detail. A single interior render, one camera move, no scene rebuilt.
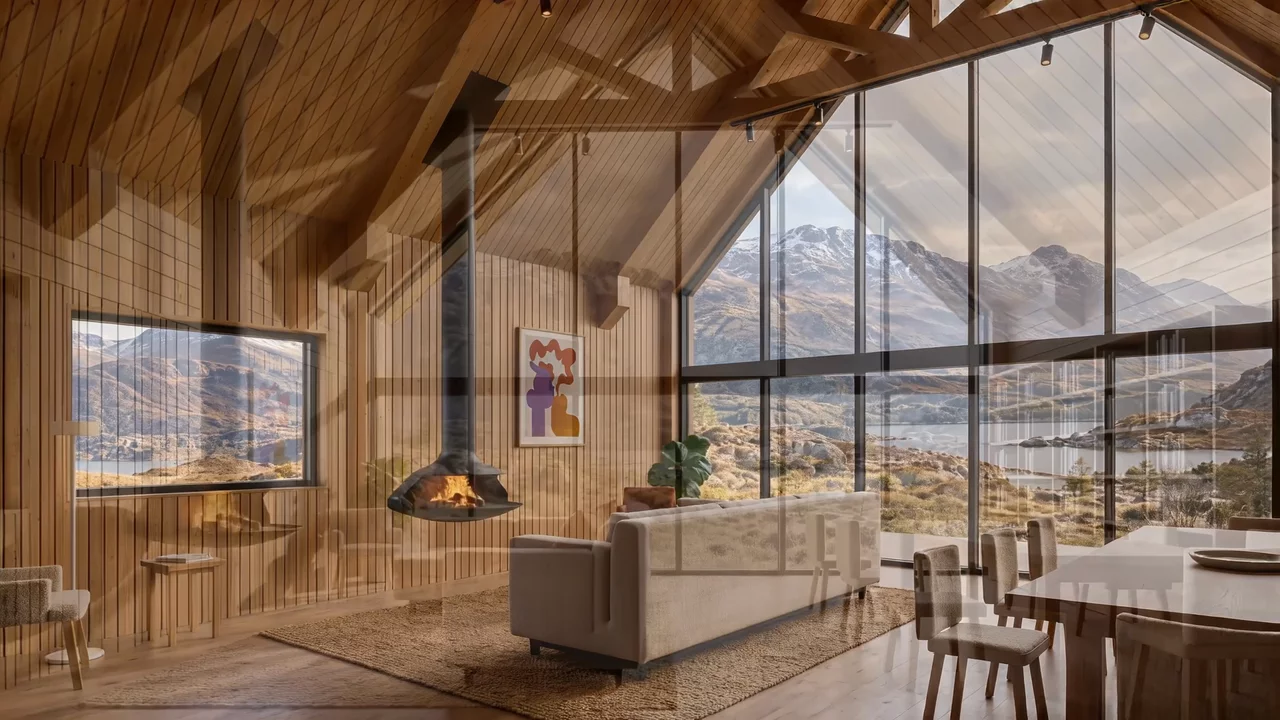
Every render and clip here was made in Fenestra, in the video tool, starting from the kind of image already sitting in your project folder.
What is an AI architectural walkthrough?
A walkthrough is a moving view through or around a building. Traditionally it came out of the same 3D scene as your stills: you set a camera path, keyed it over time, and rendered several hundred frames.
The AI version skips the scene. A video model reads one image, infers the depth and the geometry in it, and generates the frames for a camera move through that space. You are not rebuilding the model. You are moving a camera through a picture of it.
The trade is honest. You get a walkthrough in minutes from an image you already have, and you give up the metre-accurate camera control a modelled scene gives you. For a client email, a planning presentation or a social post, that trade is usually worth making. For a technical flythrough where a dimension has to be provable, it is not.
Is there an AI tool that lets me set up camera angles?
Yes, and the camera move is the main decision you make. Fenestra gives you nine presets, and the distinctions between them matter more than the count suggests.
Dolly In and Dolly Out. The camera physically travels towards or away from the subject. Dolly In is the most useful default in architecture: it creates a sense of arrival, and it is the most forgiving preset, because the geometry entering frame is the geometry that was already sharpest in your still.
Zoom In and Zoom Out. The focal length changes while the camera stays put. Worth knowing this is not the same shot as a dolly. A zoom flattens depth and compresses the background towards you; a dolly keeps perspective honest and the space reads as a space. For a room, dolly. For drawing attention to one detail without changing how the room reads, zoom.
Orbit. The camera circles the subject. Best for a standalone object: a house, a pavilion, a tower. It reads as a product shot and shows massing from several sides in one clip.
Pan Left and Pan Right. The camera rotates in place. Quiet, cheap in motion terms, and the safest choice for a detailed interior where a travelling camera would smear the furniture.
Rise Up. The camera lifts. Good for revealing a facade from the ground, or for taking a site into its wider context.
Static. No camera move at all. The model animates what is in the scene instead: fire, water, foliage, people, cloud shadow. Underrated for interiors, where a still frame with a live fire often sells the room better than a moving one.
If you are unsure, use Dolly In. It fails more gracefully than the others.
A flythrough, in the sense of travelling over or past a site, is not a preset. You compose one from several shots, which is the shot-list method further down.
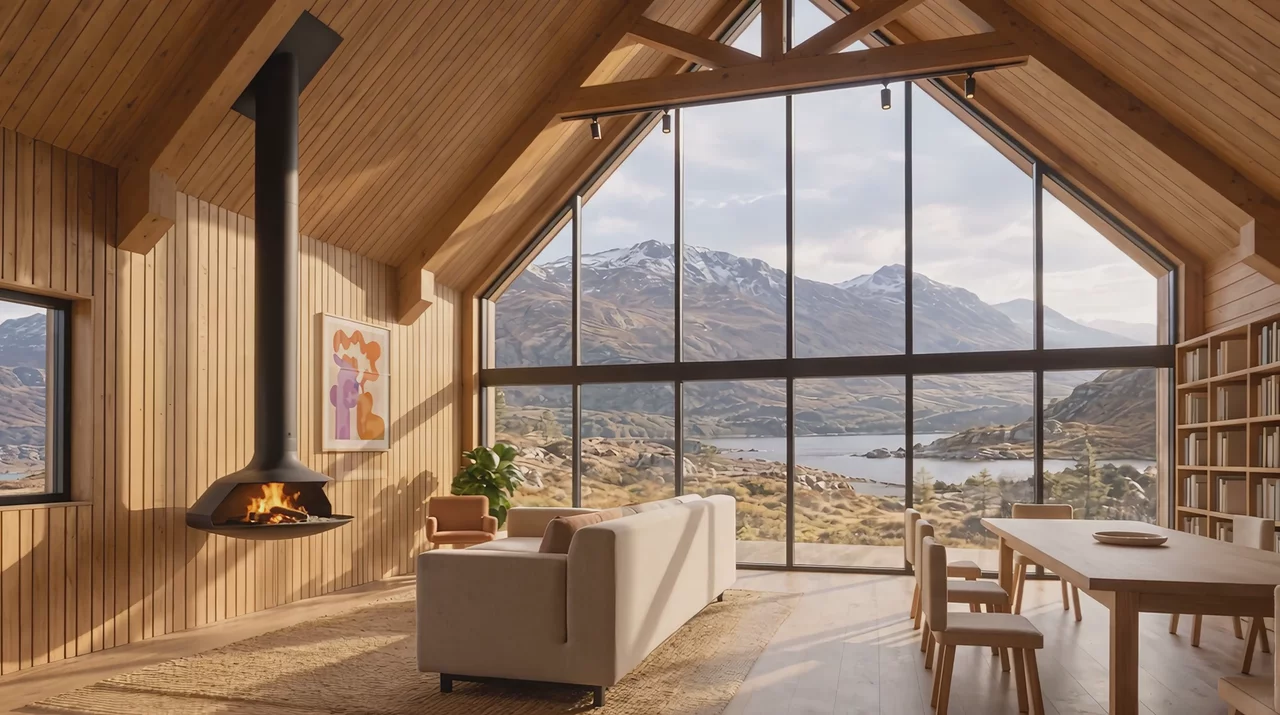
The move is a separate decision from the image, which means one still gives you more than one shot. This is the same render as the clip above, on a different camera move.
Which images make good walkthroughs?
The input does more work than the prompt. In rough order of how much it matters:
- Depth in the frame. An image with a foreground, a middle ground and a background gives the model something to move through. A flat elevation gives it nothing, and the result tends to wobble.
- One clear subject. A render of a single building beats a busy streetscape.
- Resolution. Feed it the full-size render, not a screenshot of the render.
- An honest horizon. Heavily corrected two-point perspectives confuse the camera move. A normal photographic perspective animates better.
Interiors need one extra thing: somewhere for the camera to go. A shot taken from a corner, looking across the room towards a window, animates well. A shot pressed against a wall does not.
The still behind both clips above scores on all four counts. Drag the handle to see where it started.


Rug in the foreground, fireplace and sofa in the middle, mountains beyond. Three distinct depths for a camera to travel through, and a clear run across the room towards the glazing.
It began as a flat model view with no materials and no light. This one was modelled in Rhino with GPT Astra, then loaded straight into Fenestra, where the camera was framed and the render made. There is no export-and-re-import step in the middle.

That sidebar is doing the work a render engine usually does. Type switches between perspective, two-point and orthographic, and two-point is the one worth knowing about: it keeps verticals parallel, which is how architectural images are supposed to look and the thing a photograph of a tall building gets wrong. FOV sets how wide the lens is. Move Speed governs how fast WASD walks you through the space. Time of Day and Sun Brightness put the sun where you want it before anything is generated.
Saved Views is the part that matters most for a walkthrough, and it is the subject of the shot-list section below. Frame a camera, save it, move on. Each saved view is a shot.
Worth being precise about what this means. Getting from the left image to the right one uses your model as an input. Getting from the right image to a moving camera uses no model at all, which is why a sketch or a photograph reaches the same place by a shorter route.
How do I stop the building changing shape?
This is the failure everyone hits first. The camera moves, and the facade quietly reorganises itself: a window migrates, a balcony appears, a mullion count changes.
Four things reduce it:
- Keep the clip short. Most drift accumulates over time. A four-second clip holds together far better than a twelve-second one, and four seconds is usually all a client needs.
- Use a smaller camera move. A Dolly In asks the model to invent less new geometry than a full Orbit. Orbits are where facades go wrong, because the model has to invent the sides it has never seen.
- Say what must not change. A prompt line like
keep the facade proportions and window positions exactly as they aregives the model something to hold on to. - Pick the model for the job. Video models differ a lot here. Some hold architectural geometry well and move conservatively; others are more cinematic and take more liberties. Fenestra keeps the full model lineup in one place precisely so you can swap when a shot misbehaves, rather than re-subscribing somewhere else.
If a clip drifts, regenerate before you start rewriting the prompt. These models are stochastic, and the second attempt from the same inputs is often clean.
Can I make something longer than one clip?
A single generation gives you a few seconds. Real presentations need more, and you get there by chaining clips rather than by asking for a longer one.
The approach that works: treat it like a shot list, not a video. Decide the sequence first, in words.
- Approach down the street, Dolly In.
- Entrance, Dolly In through the door.
- Living space, Pan Right across to the window.
- Back outside at dusk, Dolly Out.
Then generate each shot separately from the still that suits it, and assemble. Because each clip is short, each one holds its geometry. We wrote up the longer version of this method in multi-shot architectural films from one prompt.
If you brought a model in, this is where Saved Views earns its keep. Frame a camera, save it, move the camera, save another. Each saved view renders from the same scene under the same sun, so the shots cut together: the materials match, the light matches, and the view out of the window is continuous between them. That consistency is the hard part of multi-shot work, and it comes free when the shots share a scene.


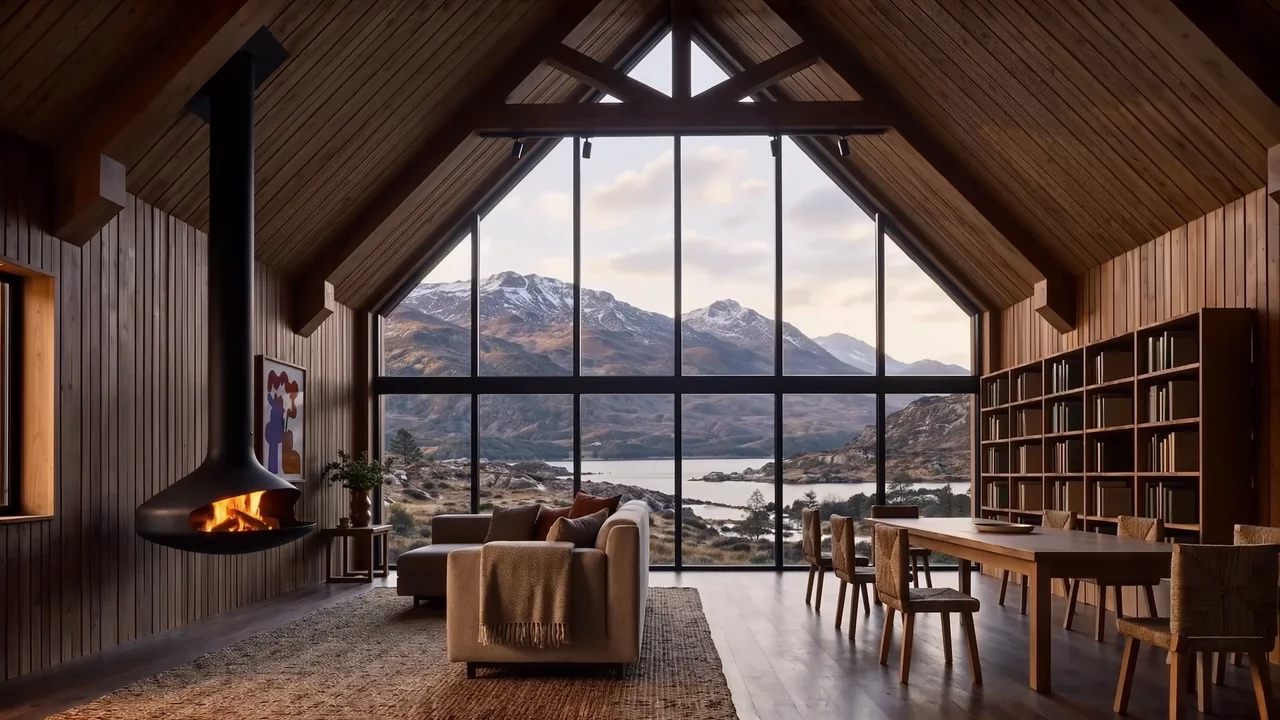
Second viewport capture, same model, same treatment. The bookshelves and the dining table were always there; the first camera simply could not see them.
If the destination is a client's inbox rather than a timeline, consider handing over a scroll video instead of an MP4. The clips become a web page the client scrolls through at their own pace, which tends to get watched properly rather than glanced at once.
How long does it take?
Minutes per clip. Compare that to setting up a camera path in the scene, rendering several hundred frames and compositing them, which is a day of work at best and usually more. The schedule matters more than the cost here: a walkthrough stops being a thing you commission three weeks out and becomes a thing you make during the meeting prep.
That changes what you use it for. Most of the walkthroughs made in Fenestra are not final deliverables. They are a way of showing a client the scheme moving before anyone has committed to the scheme.
Where this is going
The camera is the interesting part, and it is the part we are building on next. Choosing between four preset moves is a reasonable starting point, but it is not where this ends up. Directing a sequence of shots, holding one building consistent across all of them, and controlling the camera rather than picking from a menu are the obvious next steps, and there is a set of tools arriving this month that does exactly that.
If you want to see them first, they turn up in Fenestra before they turn up here.
Turn a render into a walkthrough
Animate my first imageRelated Articles

Architectural Rendering Styles: A Visual Guide
A visual guide to the main architectural rendering styles, from photorealistic to marker, ink, watercolour and clay, with examples and prompts for each.

What a skateboarder taught us about filming architecture
A cinematic AI architecture video that isn't a flythrough: a skateboarder as the lead, a Vienna timber tower in support. The full image-to-video workflow.

Nano Banana 2 is Now in Fenestra
Nano Banana 2 is now live inside Fenestra. Early tests show strong spatial understanding, cleaner text handling, and fast interior and material studies.
 AI rendering software for architects. Turn sketches, CAD drawings and 3D models into photorealistic renders and animations, in your browser.