Furnish Any Room With Fenestra
Turn a furniture sketch into a photoreal image and place it in a modern interior using Fenestra + Nano Banana - step-by-step with prompts.

Shaun McCallum
September 29, 2025This week I was chatting with interior designers who wanted to use Fenestra not just for interiors, but for furniture design and bringing furniture into interiors. They had CAD sketches and elevations - but the challenge was: how do we test out materiality and then see that piece in a real interior?
So I gave it a go myself:
1/ Start with the sketch.
I dropped a simple timber piece into Sketch → Render to give it some basic materiality.
2/ Refine the details.
With Nano Banana in Conversational Edit, I added indented handles and kept it on a clean white background.
3/ Place it in context.
Finally, I asked Nano Banana to place the piece in a modern interior, adding a record player, a vase, and even a green rug on a dark timber floor.
The result? A simple sketch turned into a photoreal piece of furniture, styled inside a sleek interior - going from idea → object → space in just a few steps.
What’s New: Fenestra Documentation
- Getting Started: create your first images in minutes
- Editing with Fenestra: make precise changes with Conversational Edit
- Share 3D Models: prepare camera views and send interactive links to clients
Learn more here!
Create Interior Visuals In Seconds!
Get StartedRelated Articles

5 AI Interior Design Prompts That Actually Work
Most AI prompts for interior design return generic, flat rooms. These 5 are the ones I actually use - and they work across Flux, Nano Banana Pro, and everything else.

Wake Up New Seedance + Qwen Dropped
Seedance 1.5 Pro and Qwen Image Edit 2511 have just landed in Fenestra, unlocking a smoother way to edit, animate, and bring images to life with sound.

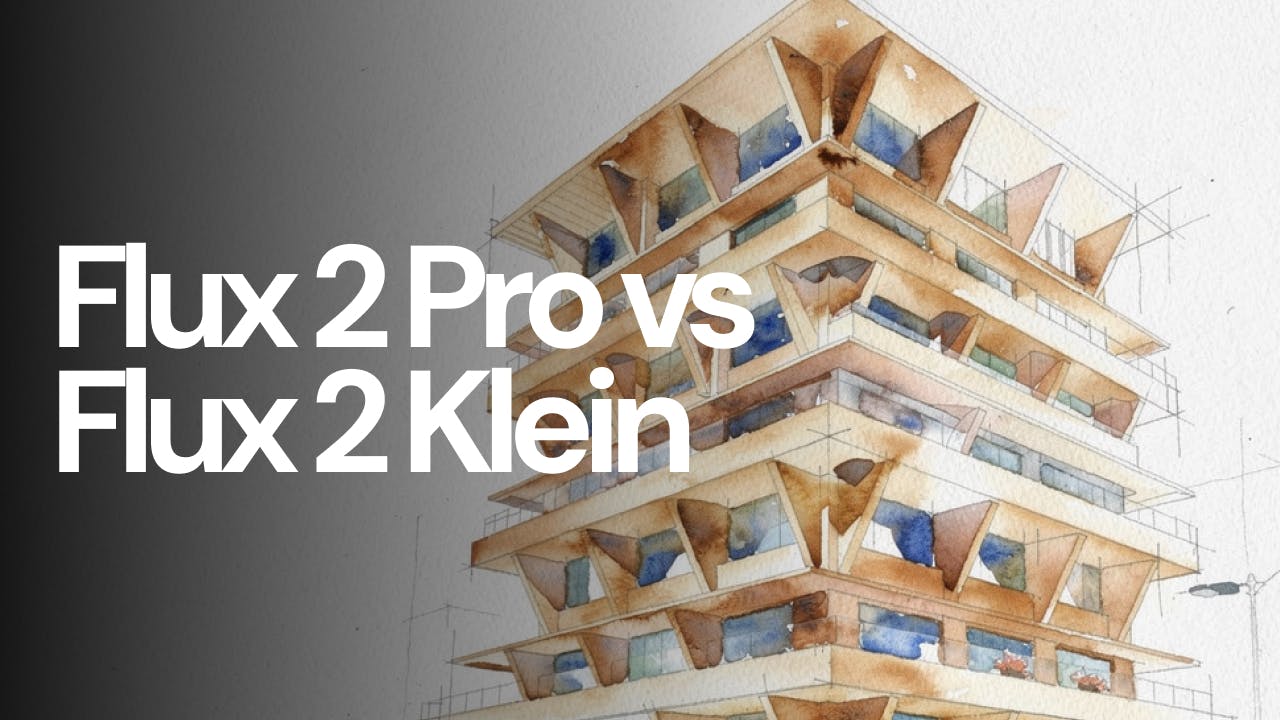
Flux 2 Pro vs Flux 2 Klein
Flux 2 Klein and Flux 2 Pro are both available in Fenestra, but they are designed for different moments in the design process. This short comparison looks at speed, cost, and visual quality to help you decide which model to use and when.