Axonometric Illustrations with Fenestra x Nano Banana
Use Fenestra and Nano Banana to turn your architecture designs into sketches, isometric illustrations in a single prompt.

Shaun McCallum
September 8, 2025TL;DR
- Use Conversational Edit → Nano Banana
- Keep prompts plain English and single-goal
- Progression: Render → Axonometric Illustration → Physical Model → In-context Studio Shot
- Exact prompts below + workflow tips below
Why Nano Banana (and why now)
Nano Banana has been the trending image model for design work lately. Inside Fenestra, it shines at quick visual transformations - great linework, consistent forms, and natural-looking composites - without prompt gymnastics.
How to use Nano Banana inside Fenestra
- Open Conversational Edit.
- In the AI model dropdown, choose Nano Banana (it’s the default unless you changed models recently).
- Add your base visual (render/site photo/sketch).
Generate → Add to Layer (top-right) to keep building. Anything on the canvas is “seen” by Nano Banana for the next edit.
Prompt 1 — Render → Axonometric illustration
‘Turn this architecture into a sharp aerial axonometric architecture illustration with pen outlines and loose color shading.’
Tips
- Keep it single-goal (axonometric + style), avoid stacking 5 art styles at once.
- If lines are too soft, add: “crisper ink outlines, slightly increased contrast.”
Prompt 2 — Illustration → Physical model on a desk
‘Turn this architectural illustration into a physical architecture model sitting on a timber desk in an architect’s office.’
Tips
- For a stronger “model” vibe, add: “foam core edges, balsa wood feel, matte paper textures.”
- To keep scale cues: “include cutting mat, metal ruler, scattered trace paper.”
Prompt 3 — Model → In-context studio shot
‘Take this architecture model and visualise it on an architect’s monitor in Rhino 3D, with the physical model sitting on the timber desk, camera looking over the architect’s shoulder.’
Tips
- If screens look generic, add: “Rhino UI elements visible, subtle viewport grid.”
- For depth: “shallow depth of field, focus on monitor, soft studio lighting.”
Prompt patterns you can reuse
- [Goal]: “Turn this into [axonometric illustration / clay model / night render / physical model].”
- [Style & Medium]: “with pen outlines, loose color wash, matte photo-paper texture.”
- [Context]: “on a timber desk, in a studio, on a cutting mat, on an architect's monitor with Rhino UI.”
- [Camera]: “aerial, 45° axon, over-the-shoulder, three-quarter view.”
- [Quality nudges]: “clean edges, minimal noise, true verticals, balanced contrast.”
Where this shines
- Explainers & social: Show concept → illustration → physicality in one thread.
- Client narratives: Bridge digital and tactile - great for concept reviews.
- Consistent series: Reuse the same base with slight prompt tweaks across posts.
In short: Nano Banana makes it easy to move from idea to image to model - no prompt tricks, just plain language inside Fenestra.
Try it out. It’s the perfect companion for editing and creating realistic conceptual imagery!
Use Nano Banana x Fenestra To Create Modern Visuals
Render Now!Related Articles

5 AI Interior Design Prompts That Actually Work
Most AI prompts for interior design return generic, flat rooms. These 5 are the ones I actually use - and they work across Flux, Nano Banana Pro, and everything else.

Wake Up New Seedance + Qwen Dropped
Seedance 1.5 Pro and Qwen Image Edit 2511 have just landed in Fenestra, unlocking a smoother way to edit, animate, and bring images to life with sound.

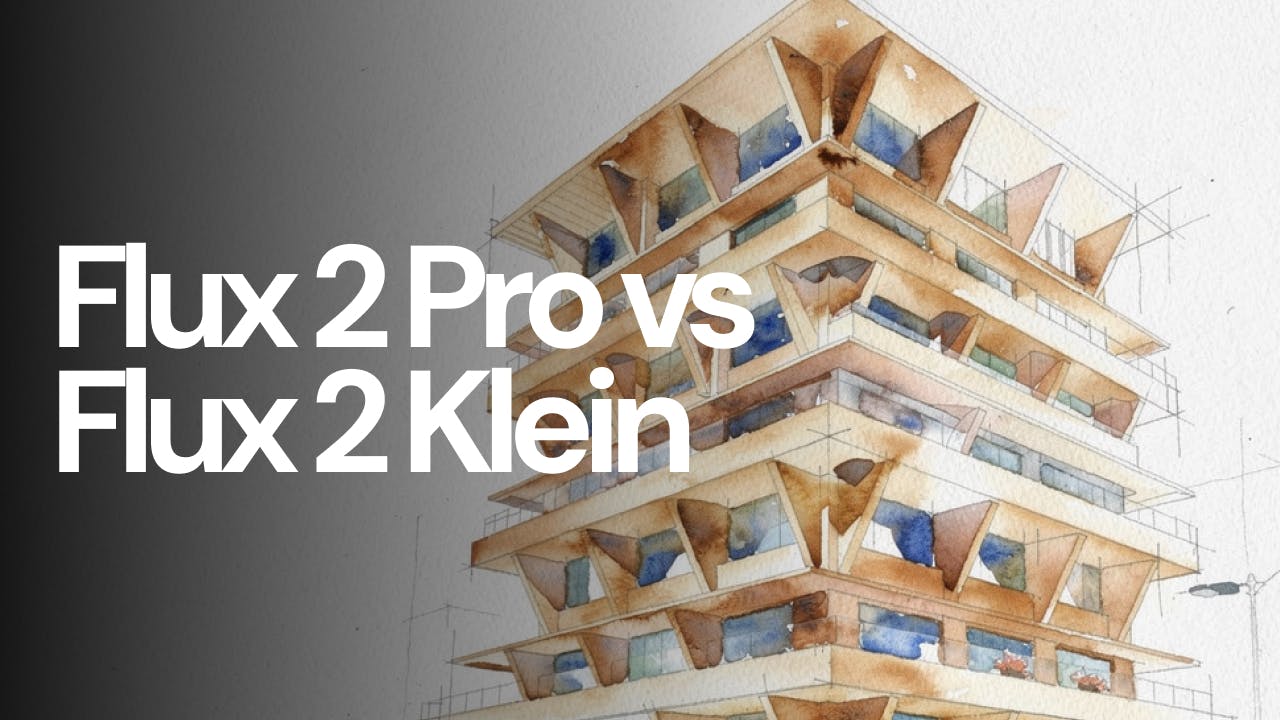
Flux 2 Pro vs Flux 2 Klein
Flux 2 Klein and Flux 2 Pro are both available in Fenestra, but they are designed for different moments in the design process. This short comparison looks at speed, cost, and visual quality to help you decide which model to use and when.